再次增资!非凡国际
加码增材制造下游应用,深化协同盖泽激光赋能高质量发展
2026-03-03
3月3日,非凡国际
下属公司江苏非凡
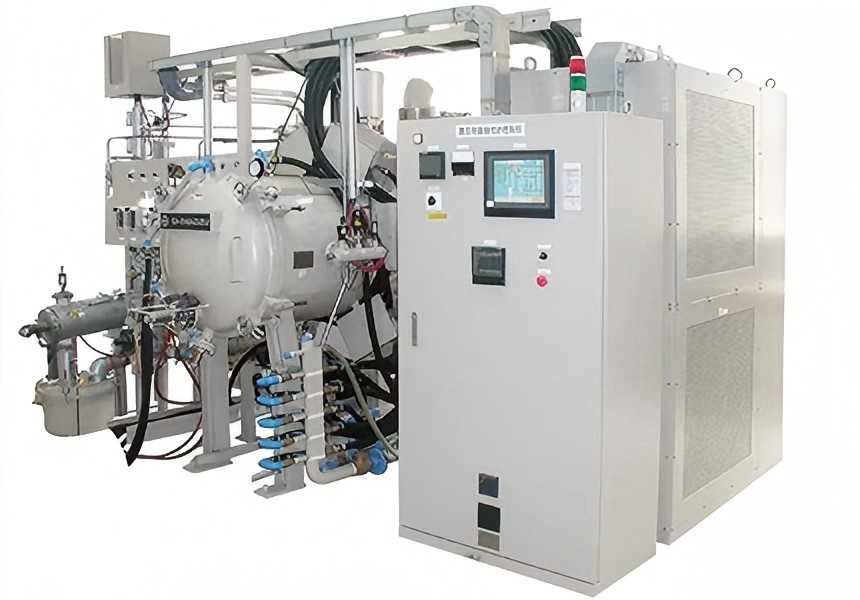
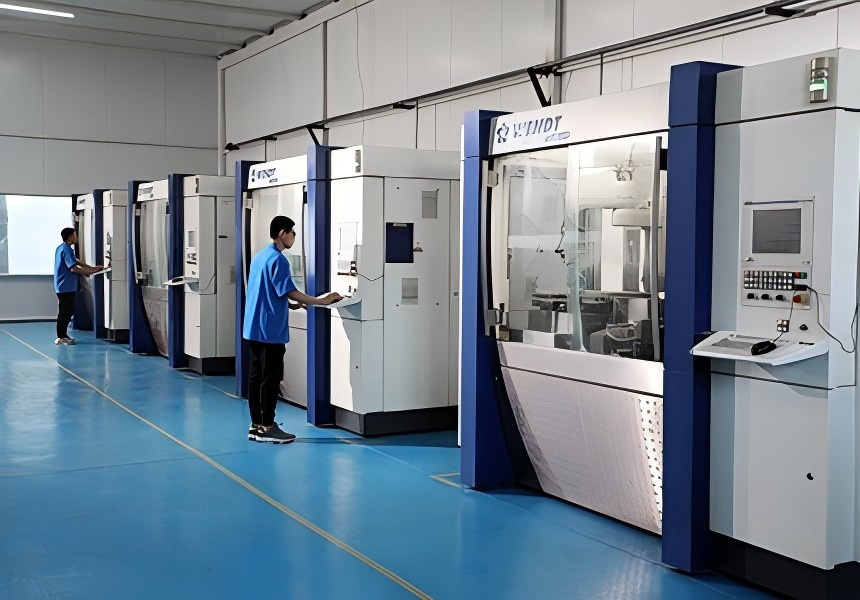
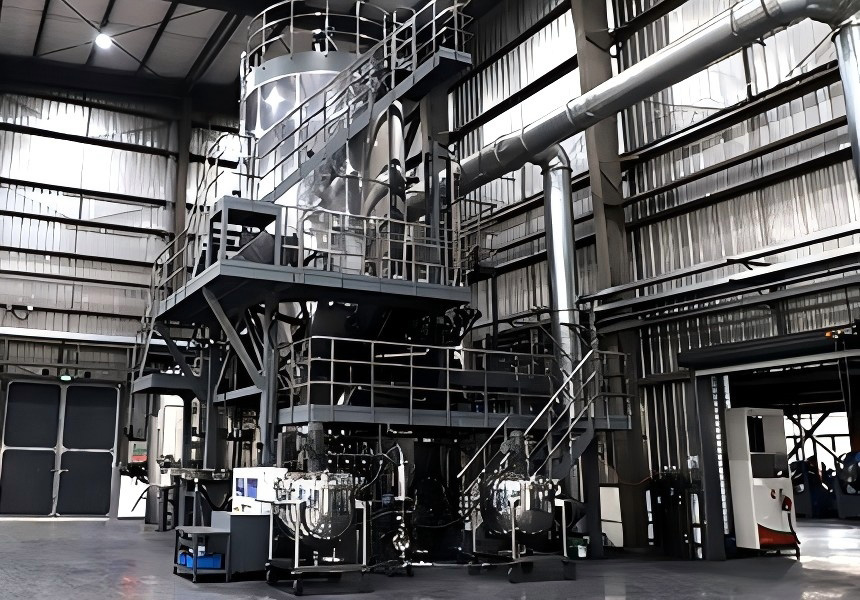
投资管理有限公司完成对上海盖泽激光科技有限公司(以下简称:盖泽激光)的二次增资,以资本为纽带深化战略合作,携手打造增材制造服务新生态,助力高端制造产业链升级。 此次增资是继2025年9月首次战略投资后的再次加码,根据协议,公司出资人民币300万元,认购盖泽激光293,869股新股,增资后公司对盖泽激光的持股比例由5.56%提升至约10.53%,进一步深化双方协同共赢的合作关系。 盖泽激光深耕激光增材制造领域,在激光熔覆、高速熔覆、3D打印等核心技术及设备集成方面优势突出,并具备配套服务能力,与非凡国际
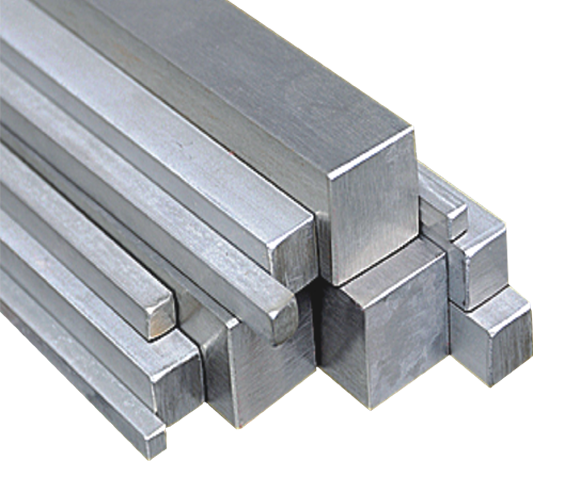
产业延伸需求高度契合。 此次增资的资金将用于盖泽激光充实营运资金、加速技术迭代与设备投入,强化其技术壁垒与市场竞争力。目前增材制造下游应用市场仍缺乏专业化、高精度化的技术服务方案,公司与盖泽激光的深化协同,将精准切入该赛道,打造规模化、智能化的服务体系,挖掘增材制造领域的市场空间,培育粉末冶金相关材料的新增长动能。 此次增资,是非凡国际
推进战略转型的重要一步,为实现“材料+服务”双向赋能、打通全产业链闭环奠定坚实基础。未来,公司将持续深化与下游技术服务厂商的战略合作,聚焦高端增材制造核心赛道,强化技术研发与产业协同,推动自身从材料供应商向产品服务商转变,构建增材制造服务新生态,为中国制造高质量发展注入力量。...